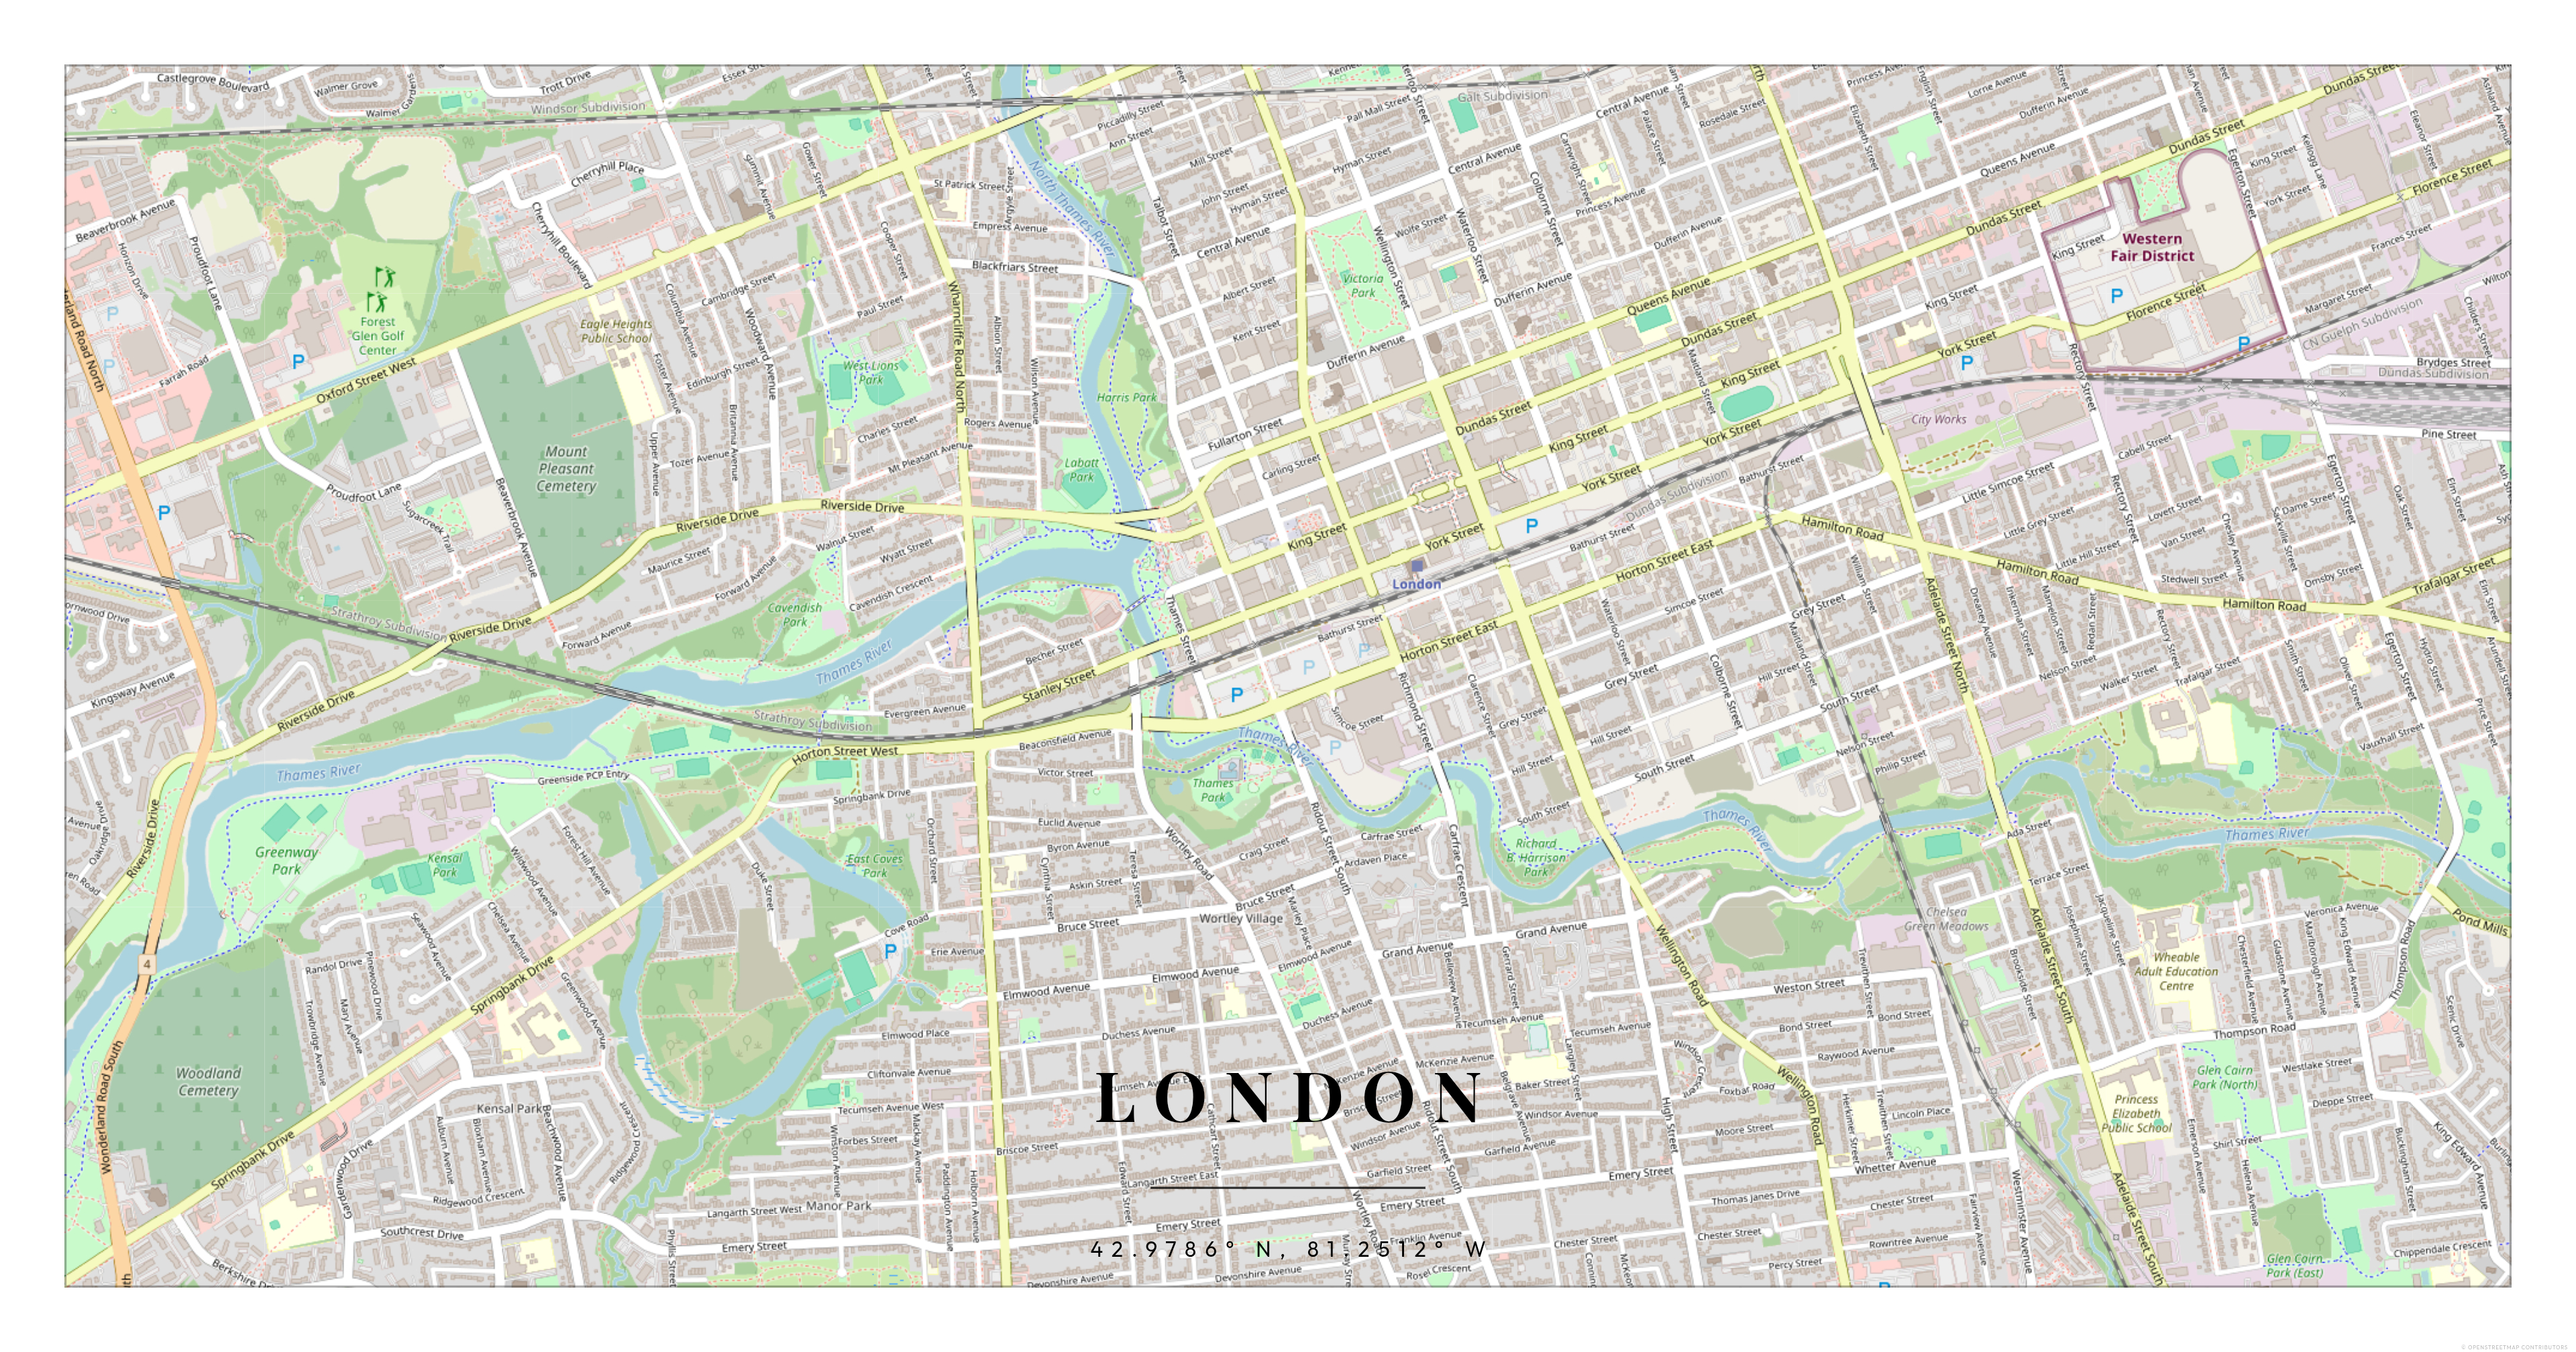
How to Create a Custom Map Poster of Any Place in the World
You don't need design software. You don't need to know anything about cartography. With MapPoster, you can turn any location on Earth into a clean, print-ready map poster in about two minutes.
Here's exactly how.
Step 1: Search for Your Location
Open MapPoster and type a place name into the search bar. It can be a city, a neighborhood, a lake, a mountain — anywhere that exists on a map.
The editor will snap to that location and show you a live preview of your poster.
Tip: If you're making a poster of a specific address (your first apartment, a wedding venue), search for the street address directly. You'll get a tighter crop that puts that exact spot at the center.
Step 2: Choose a Map Style
MapPoster offers several distinct styles:
- Minimal — Clean lines on a white background. The most popular choice for modern interiors. Streets and water are clearly defined, but there's no visual clutter.
- Dark — White and gray lines on a deep black background. Gives the map a dramatic, almost blueprint-like feel. Works well in rooms with darker furniture or industrial decor.
- Watercolor — Softer edges and muted tones. Feels more like an illustration than a technical map.
- Satellite — Real aerial imagery. Best for coastal areas, islands, and places where the natural landscape is the main feature.
Each style uses the same underlying map data but renders it completely differently. Try all of them — you'll be surprised which one works best for your location.
Step 3: Adjust the Frame
Drag the map to reposition it, or zoom in and out to change how much area the poster covers.
A few things to consider:
- City overviews work best at zoom levels where you can see the full road network and waterways. You want enough detail to recognize the city's shape without it becoming a mess of tiny lines.
- Neighborhood-level maps are more intimate. Zoom in far enough and individual streets become readable. Great for "where we live" posters.
- Natural features like coastlines, rivers, and mountain ranges often look best at a wider zoom. Let the geography breathe.
Step 4: Add Your Text
Every poster has two text fields: a title and a subtitle.
The most common approach is city name on top, country or coordinates on the bottom. But there's no rule here. People use dates, nicknames, quotes, or nothing at all.
Some ideas:
PARIS/48.8566° N, 2.3522° EHome/Since 2019Where It All Started/June 14, 2022- Just the city name, no subtitle
Less text usually looks better. The map is the star.
Step 5: Pick Your Colors
You can customize the background color, text color, and accent colors. The default palettes are designed to work, but you can dial in exact hex values if you want to match your room's color scheme.
A few combinations that consistently look great:
- Navy background + gold text — classic and warm
- White background + black lines — clean Scandinavian feel
- Black background + white lines — modern and bold
- Sage green background + cream text — soft and organic
Step 6: Download and Print
When you're happy with the design, hit download. You'll get a high-resolution PNG file that's ready for printing.
For the best results:
- Frame size: The default output works well at common poster sizes (A3, A2, 12x18", 18x24").
- Paper: Matte paper gives a more refined look. Glossy can work but tends to show reflections.
- Printing: Any online print service (or your local print shop) can handle a PNG file. Upload it, pick your size, and you're done.
That's It
No account needed. No watermarks on the free version. Pick a place, make it yours, print it, hang it up.
The whole point of a map poster is that it means something to you. It's not just wall art — it's a specific place that matters. Your city, your street, your favorite spot in the world, framed and on your wall.